[json-server] 30초 안에 RESTful API서버 만들기
프론트엔드 개발자에게 백엔드서버 구축은 여간 귀찮은 일이 아니다. 백엔드 구축이 귀찮은 분들에게 json-server 라는 신박한 녀석을 소개한다.
json-server 는 내부적으로 lowdb 라는 단순한 데이터베이스를 이용하며 최소한의 REST API를 기본 지원한다. 운영서버로 사용하기에는 여러가지로 기능이 부족하지만 토이프로젝트용 백엔드나 프로토타이핑용 백엔드 서버로 사용하기에는 안성맞춤이다.
운영 서버로 사용할 경우 주의사항)
json-server는 db.json 파일에 직접 데이터를 저장하고 갱신하기 때문에 앱을 재배포할 경우 기존 데이터는 모두 덮어쓰기 되어 사라지게 되는 문제가 있다. 앱 재배포 전 반드시 기존 데이터를 백업하는 방안이 준비되어야 한다.
json-server 를 이용하여 아주(really simple!) 간단하게 Rest API 서버를 구축하는 방법을 소개한다.
0. Nodejs 는 사전 설치되어 있다고 가정한다.
1. 프로젝트 폴더를 만들고 npm init 을 수행
mkdir my-json-server
cd my-json-server
npm init
2. json-server 설치
npm install json-server --save-dev
3. /server.js 작성
const jsonServer = require('json-server')
const server = jsonServer.create()
const path = require('path')
const router = jsonServer.router(path.join(__dirname, 'db.json'))
const middlewares = jsonServer.defaults()

// Set default middlewares (logger, static, cors and no-cache)
server.use(middlewares)

// To handle POST, PUT and PATCH you need to use a body-parser
// You can use the one used by JSON Server
server.use(jsonServer.bodyParser)

server.use(router)

let port = 80;
server.listen(port, () => {
  console.log(`JSON Server is running, port(${port})`)
})
4. 데이터베이스로 이용할 /db.json 파일 생성
{
  "posts": [
    { "id": 1, "title": "json-server", "author": "typicode" }
  ],
  "comments": [
    { "id": 1, "body": "some comment", "postId": 1 }
  ],
  "profile": { "name": "typicode" }
}
5.서버실행
node server.js

끝!
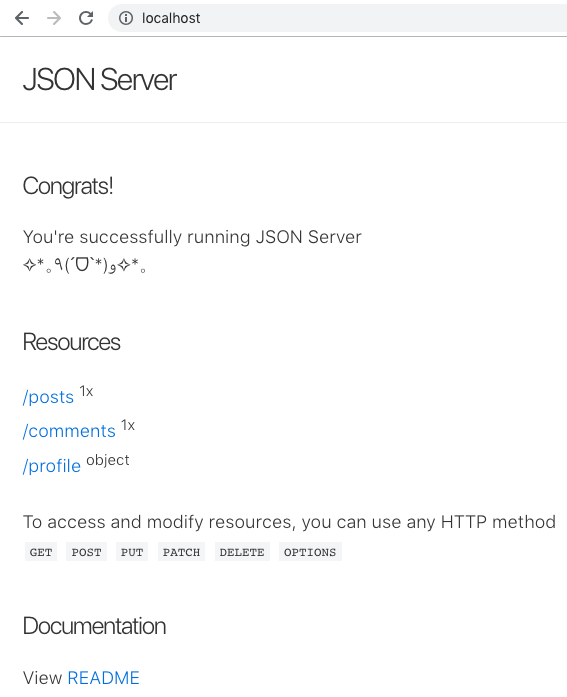
이제 아래와 같은 REST API 를 이용할 수 있다
| 기능 | method | path |
|---|---|---|
| 전체목록조회 | GET | /posts |
| 추가 | POST | /posts |
| 삭제 | DELETE | /posts/:id |
| 수정 | PUT | /posts/:id |
POST, PUT 처리시 HTTP요청 헤더에 Content-Type: application/json 를 세팅해야 한다
참고)
Comments